Like the turning of the seasons…
I have had the greatest itch to draw, but try finding a subject matter.
Category: Jewelry
Jewelry creations I have made…
Werk Werk Werk…
All work and no play makes Jack a dull boy, but somebody has to do it… Continue reading “Werk Werk Werk…”
Goings On [An Update]
So what have I been up to, since I haven’t really been updating?
Well, mostly being a mom, but also Hoarding All The Things, collecting more pretties raw materials, getting a little worn out around the edges (can’t play SuperMom indefinitely it seems), as well as finally getting some energy to get back into the swing of things. I figured my sister’s birthday in a week is a good reason, don’t you think? ::grins:: Continue reading “Goings On [An Update]”
Enamelling Copper Pendants
The last I talked, the subject was etching copper pendants. Today, I want to talk about painting with enamel. ::smiles:: Continue reading “Enamelling Copper Pendants”
[Artistic] Copper Etching
I have waited all month on pins and needles to learn how to make beautiful, etched, enamelled pendants, and it has finally happened! ::grins::
Lessons at Poco began Friday, and spread over Saturday for time constraints.
I may come back to update with exact tools, but there are more than enough good tutorials out there [like this one] that it’s probably not necessary. I am actually quite interested to try etching with only vinegar and peroxide. (I am amused that during my brief search, computer hobbyists have more to say on experimenting with alternatives than artists do, maybe because in my heart I’m a bit of both.)
So we began by scuffing our blanks with fine steel wool until they were nice and shiny…
Then using an etch resist, or professional Sharpie pen, protect the edges of your blank with marker. Using StayzOn ink, we stamped multiple blanks…
until we had enough to fill our template, that would later fill the bottom of our dish with etching solution. Then we backed each piece with painter’s tape to protect the back of the blanks.

There is more than one way to protect the back (I found the ferric acid leaked around the edges on several of them and it was a pain to scrub, so I will look into other resists).
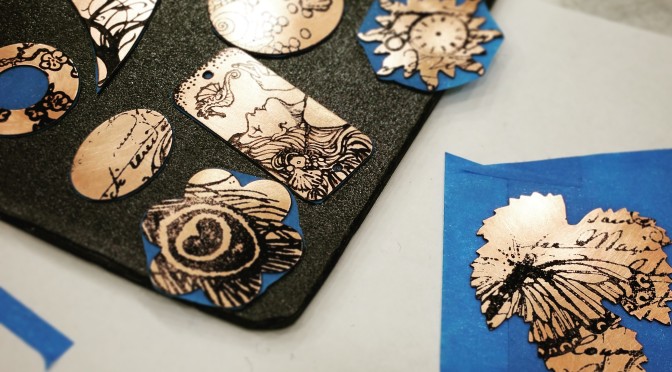
[skipping a step here] We prepared our trays and etched/agitated them for an hour. After a rinse in baking soda water, they looked like this. Notice the inks are still very much adhered to the copper. I did not like how fat-tipped the markers were, so I only stippled a few pieces, but as you can see in the photo, that survived remarkably well.While any mistakes prior to the etching would be easy to remove with isopropanol (rubbing alcohol), the ink is now stubbornly stuck there, so it is back to burnishing each piece with steel wool. Here are my pieces before I began painting.
At this point, a final pass with isopropanol should remove the last of the ink that is willing to come off (it won’t be perfect in the fine crevices). I admit I was sorely tempted to leave them on, I thought they were so pretty already.
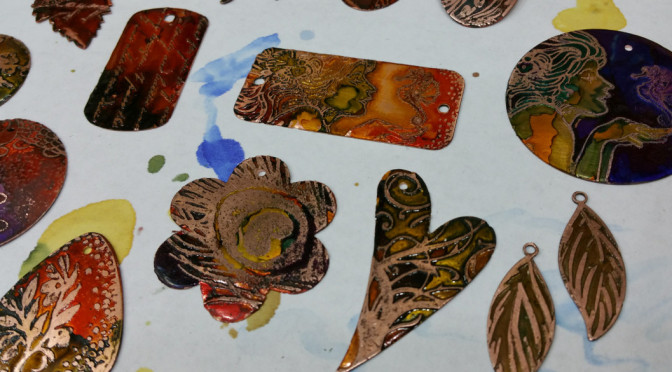
Now, the world becomes your oyster… leave as is? Age it with liver of sulfur? (You might note the pair of feathers I drew look a little more different from the rest. I gave it a quick bath in liver of sulfur and polished the relief) Shall we paint it? shape it?
The majority of students – myself included – chose to paint our blanks; class ended with the take-home assignment of buying our own sealant as there is no proper ventilation to safely lacquer them on site. I would prefer to seal the paint before sharing pictures, but with the long weekend on the horizon, that may not happen as quickly as I like.
Hope you enjoyed the pictures. ::smiles::


