My (fantastic) results with acrylic pouring
I tried something new!
::beams::
This week, I tried a painting technique called “acrylic pouring,” something completely new to me and out of my comfort zone. For someone who is a newbie, I would call these a success!
Tutorials are plentiful (especially on YouTube), but the basic necessities are:
- paint (even children’s paints),
- liquid silicone (for shoes, treadmills, etc), and
- your choice of pouring medium (used to thin the paint).

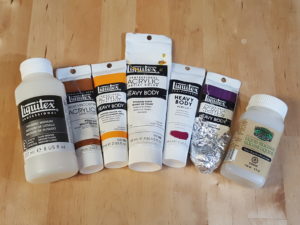
Liquitex pouring medium, Liquitex paint, and Moneysworth & Best Liquid Silicone used for acrylic pouring
You can achieve amazing results with literally any budget. I have seen beautiful results that surprised me using $10 spent on dollar-store supplies. In my case, I had several tubes of Liquitex heavy bodied acrylic paint on hand from an abandoned painting I’d begun a couple of years ago. (Bad girl!)
Unanimous internet opinion appears to be “Throw those out and buy Golden Acrylics!” (No seriously. It was annoying.) Even Liquitex will tell you that their pouring medium is meant to be used for soft bodied paint. Clearly that is not the only truth. ::smiles::
My last understated piece of advise is to state you must let your paintings cure for a couple of weeks. With space at a premium, I stacked them after a few days and the result was nearly disastrous. ::blushes:: You would think I would know better. Thankfully there was no noticeable damage when separating the paintings.
~~~~~
Aside from acrylics, I have also been practising with watercolour paints!

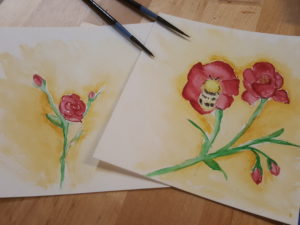
Practising with watercolours
I think my bee is lovely… the roses, in contrast, could stand improvement. ::laughs::Â I have an interested buyer that requested bumblebees! They approve of my little sketches, so while I shall endeavour to practice more, I am relieved my skill level is acceptable. I think I might play with my watercolour pencils as well, and see if I can strike a balance between them and the paints.
Happy Fall to everyone! <3


Leave a Reply
You must be logged in to post a comment.